
SVR.JS - a web server software running on Node.JS can now run PHP through PHP-CGI and RedBrick mod.
Because SVR.JS can run PHP, SVR.JS can also run WordPress. Keep in mind, that it comes with CGI overhead. This post will instruct you, how to set up PHP and WordPress on SVR.JS.
Installing PHP
First, download and install SVR.JS per documentation. You can also use create-svrjs-server tool to do that.
Since neither SVR.JS nor Node.JS has native PHP library, we’re using and installing PHP-CGI. To do this, first download and install RedBrick (2.3.2 or newer) into mods directory. RedBrick is a CGI runtime written in JavaScript running on SVR.JS.
After we have installed CGI runtime, we’re installing PHP-CGI. You can download PHP manually, however in many GNU/Linux distributions it is available in package manager. For Debian/Ubuntu you can run sudo apt install php-cgi. For Red Hat/CentOS/Fedora you can run sudo yum install php-cgi or sudo dnf install php-cgi. For Arch/Manjaro you can run sudo pacman -S php-cgi.
Once you have installed PHP-CGI, you can create cgi-bin directory inside the web root and create test.php file with those contents:
1 | phpinfo(); |
Run SVR.JS using node svr.js or bun run svr.js and visit test page, most probably http://localhost/cgi-bin/test.php. You will then see this page: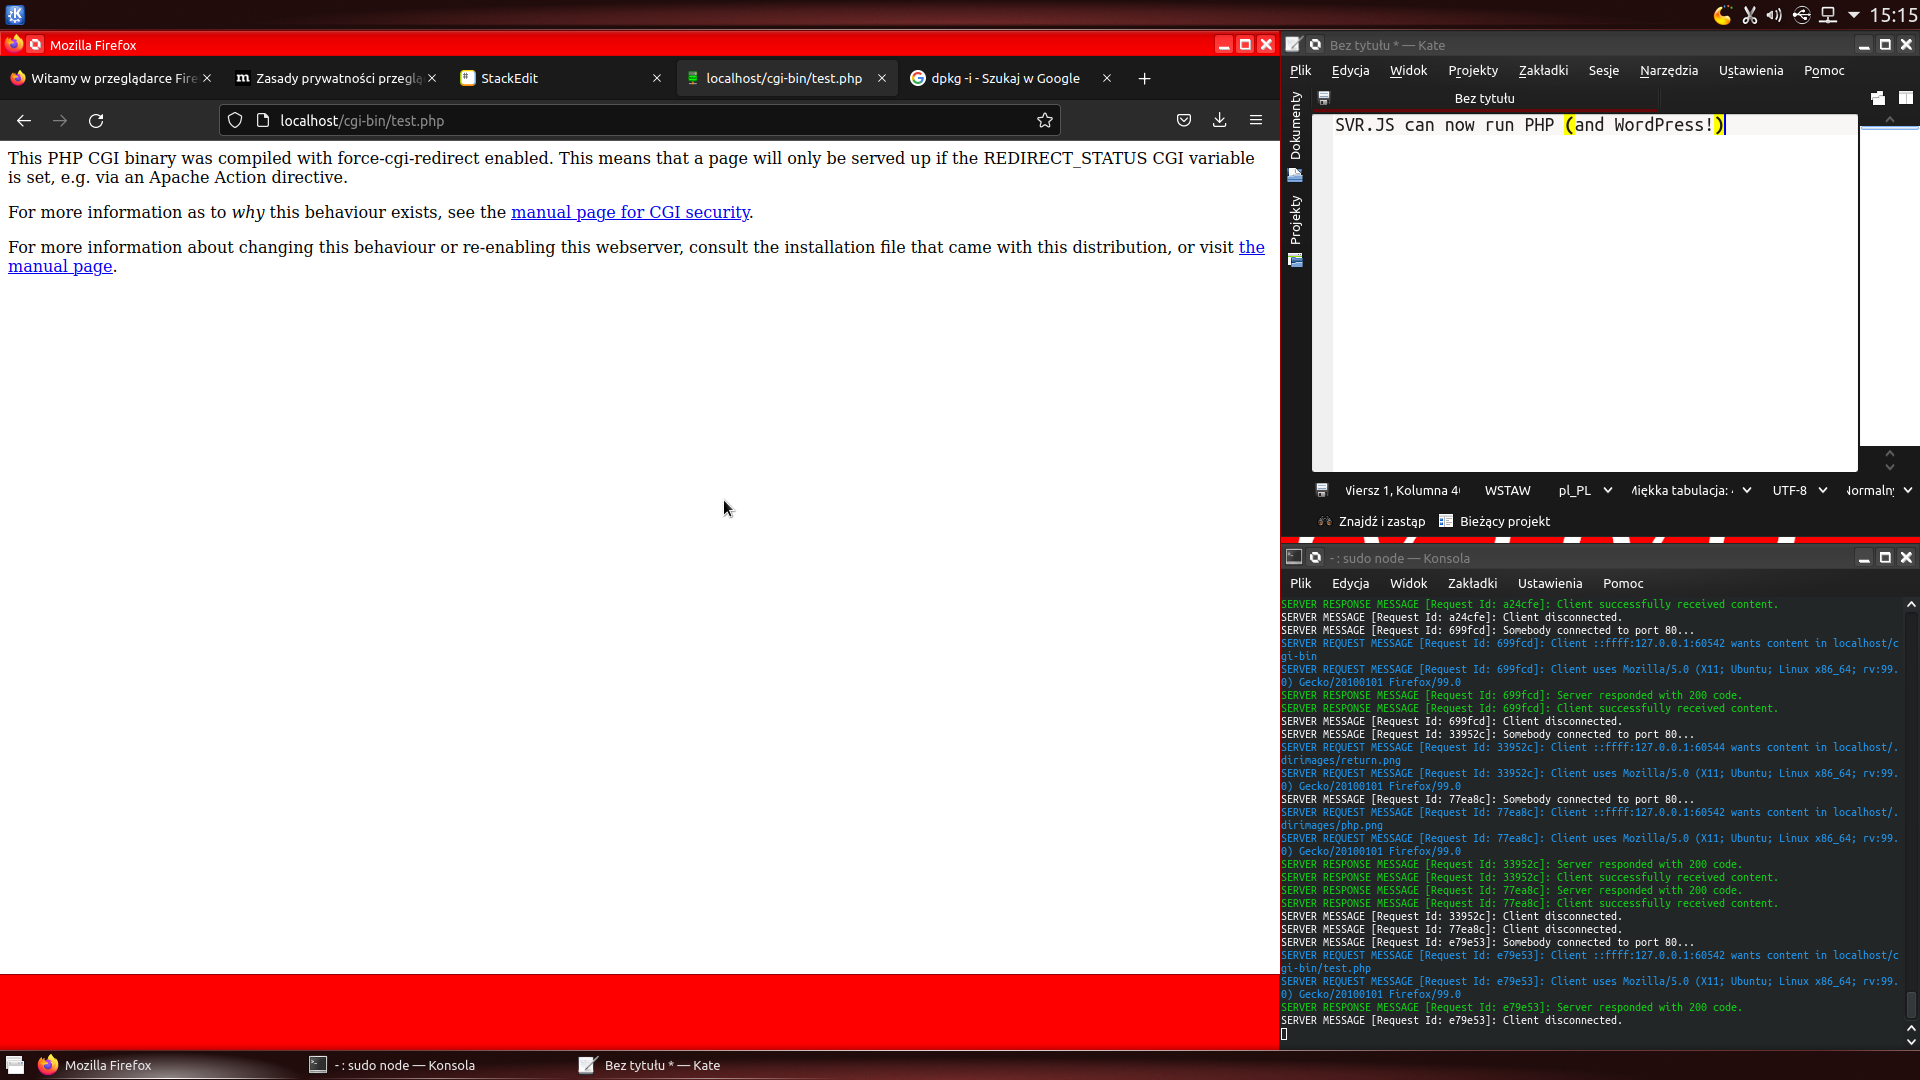
To enable PHP-CGI, locate PHP-CGI configuration file (in GNU/Linux is usually /etc/php/<php version>/cgi/php.ini) and set cgi.force_redirect property to 0.
After configuration, visit test page again, and you will see this: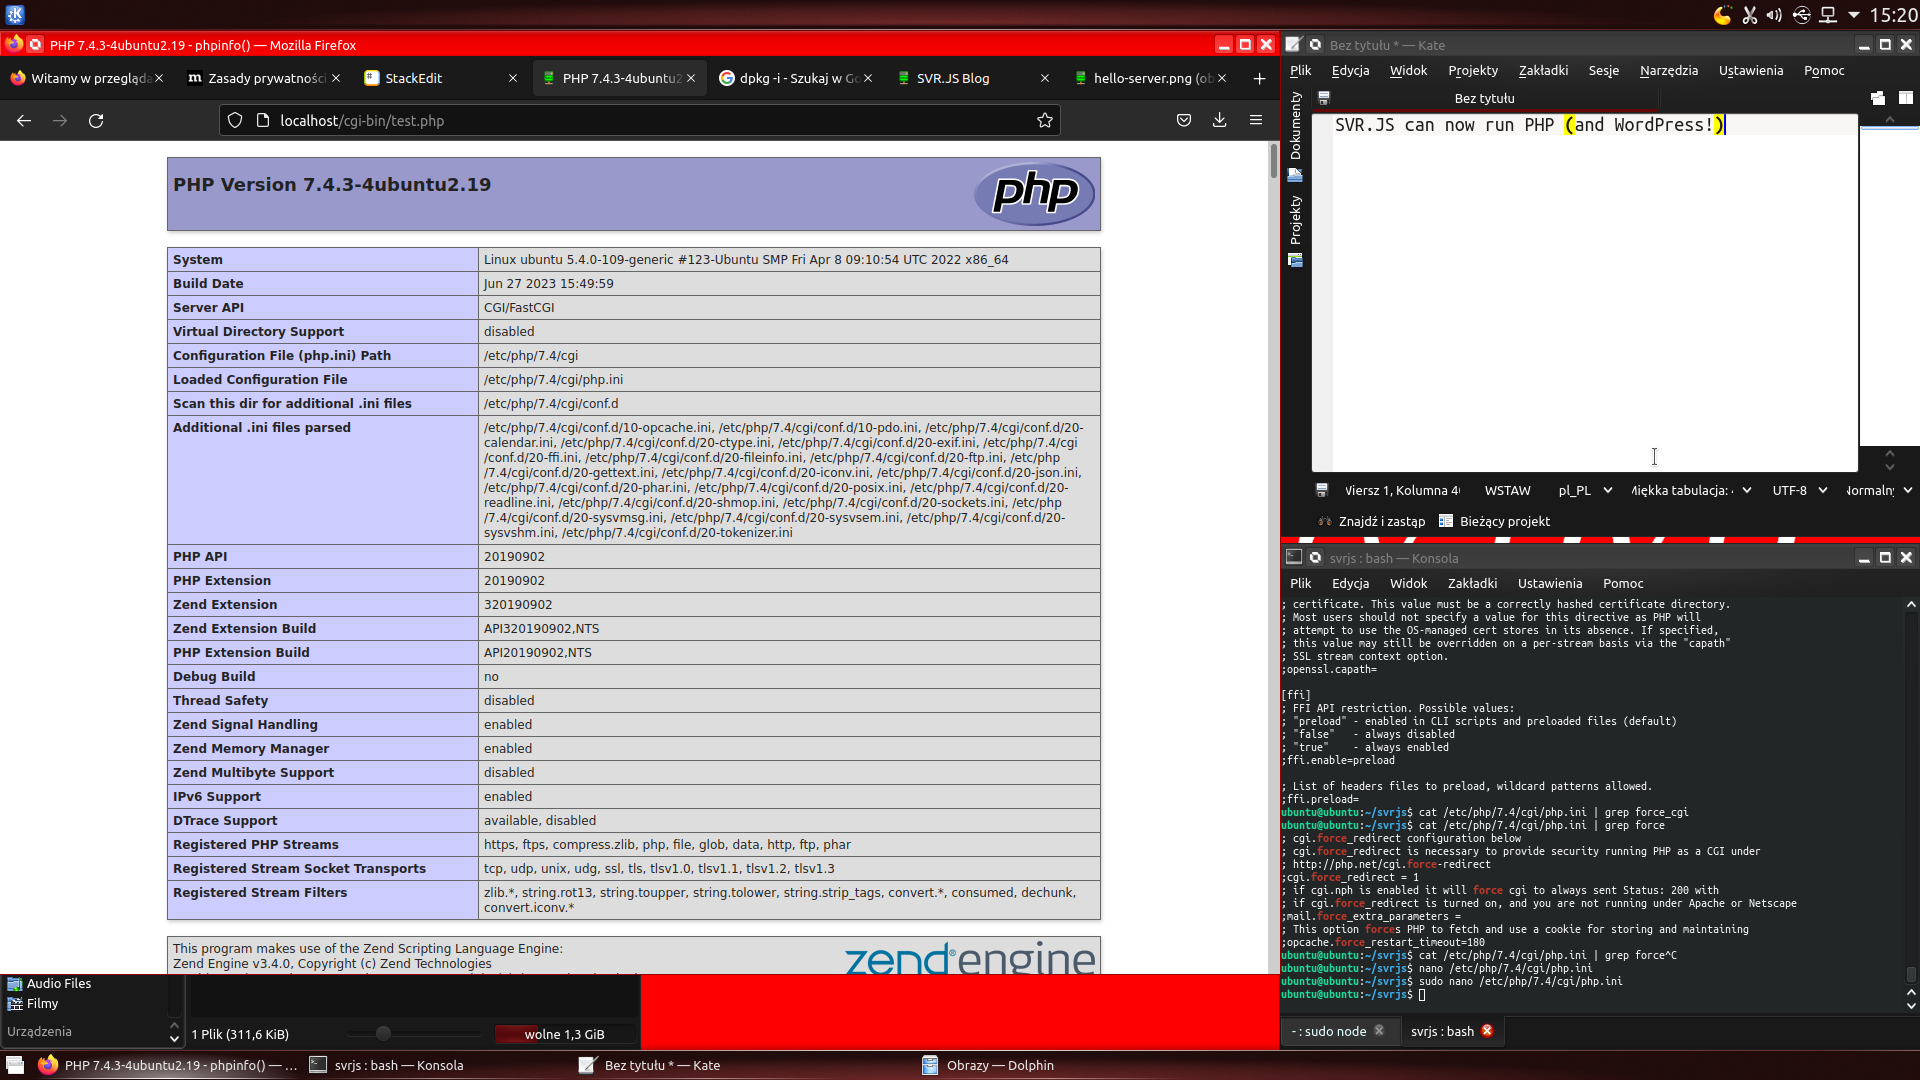
We have installed PHP!
Installing WordPress
Now we have installed PHP, so let’s move on to WordPress installation.
First, delete test.php file that you created earlier. Then download WordPress .zip file and extract all of it’s contents to cgi-bin directory.
You need to also install MySQL/MariaDB relational database server and mysqli PHP library. These packages are also available in package manager. For Debian/Ubuntu you can run sudo apt install php-mysql mariadb-server. For Red Hat/CentOS/Fedora you can run sudo yum install php-mysql mysql mysql-server or sudo yum install php-mysql mysql mysql-server. For Arch/Manjaro you can run sudo pacman -S mysql.
Then configure MySQL/MariaDB to listen to port 3306. Add this to configuration file:
1 | port = 3306 |
And restart MySQL/MariaDB using sudo systemctl restart mysql or using /etc/init.d/mysql restart.
Then you can run sequence of SQL commands to create database and user using MySQL/MariaDB console (invoked by sudo mysql):
1 | CREATE DATABASE your_database_name; |
After running this sequence, visit WordPress page (in this example http://localhost/cgi-bin/wordpress/). You’ll see this: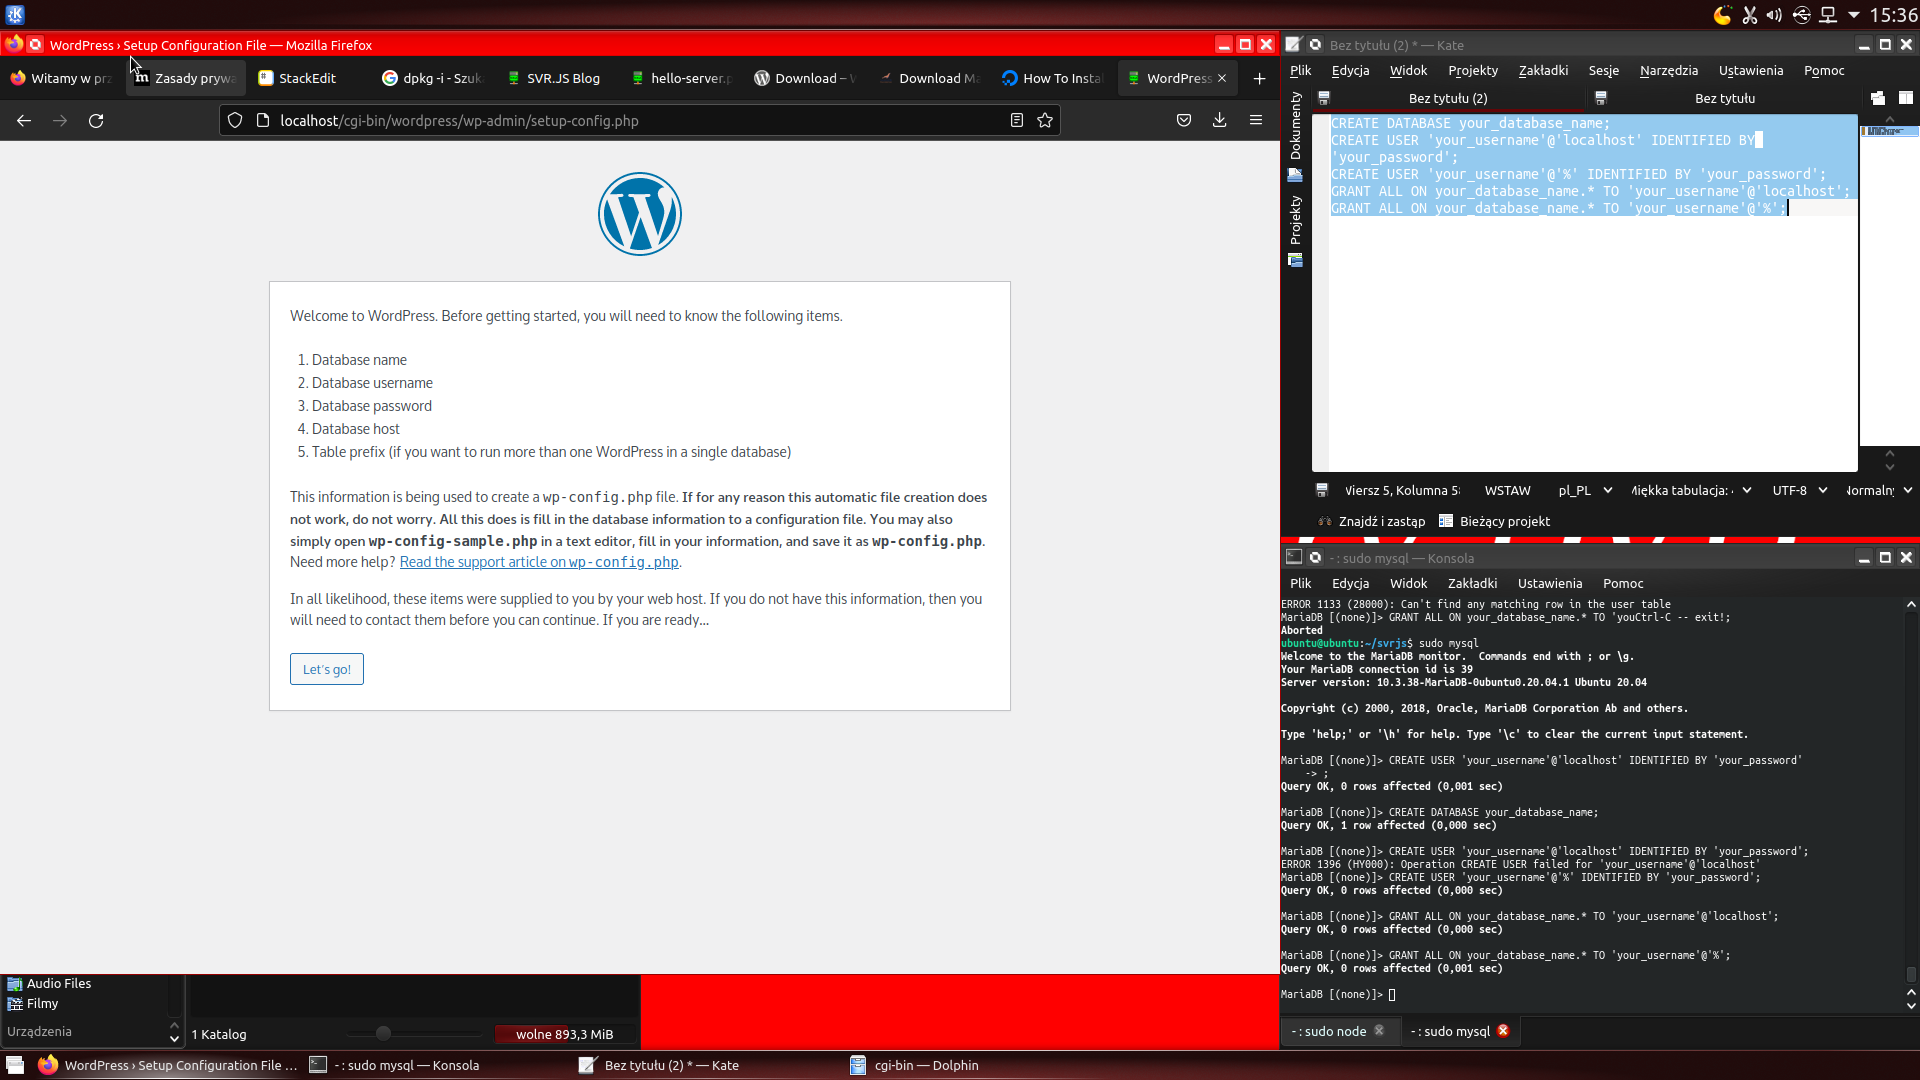
First, click “Let’s go!” button. Then put in database data (that points to your database you just created).
Example data:
- Database Name - your_database_name
- Username - your_username
- Password - your_password
- Database Host - localhost
- Table Prefix - wp_
Click “Submit” and then click “Run the installation”. In this screen, you will need to input data about your WordPress website.
Example data:
- Site Title - WordPress blog on SVR.JS
- Username - svrjs-wp
- Password - Your chosen password
- Your Email - Your e-mail address
- Search engine visibility - Don’t discourage search engines from indexing this site
After inputting the data, click “Install WordPress”. WordPress is now installed!
After installation, click “Log in” and type in your chosen username and password.
After logging in, you’ll see WordPress administration panel: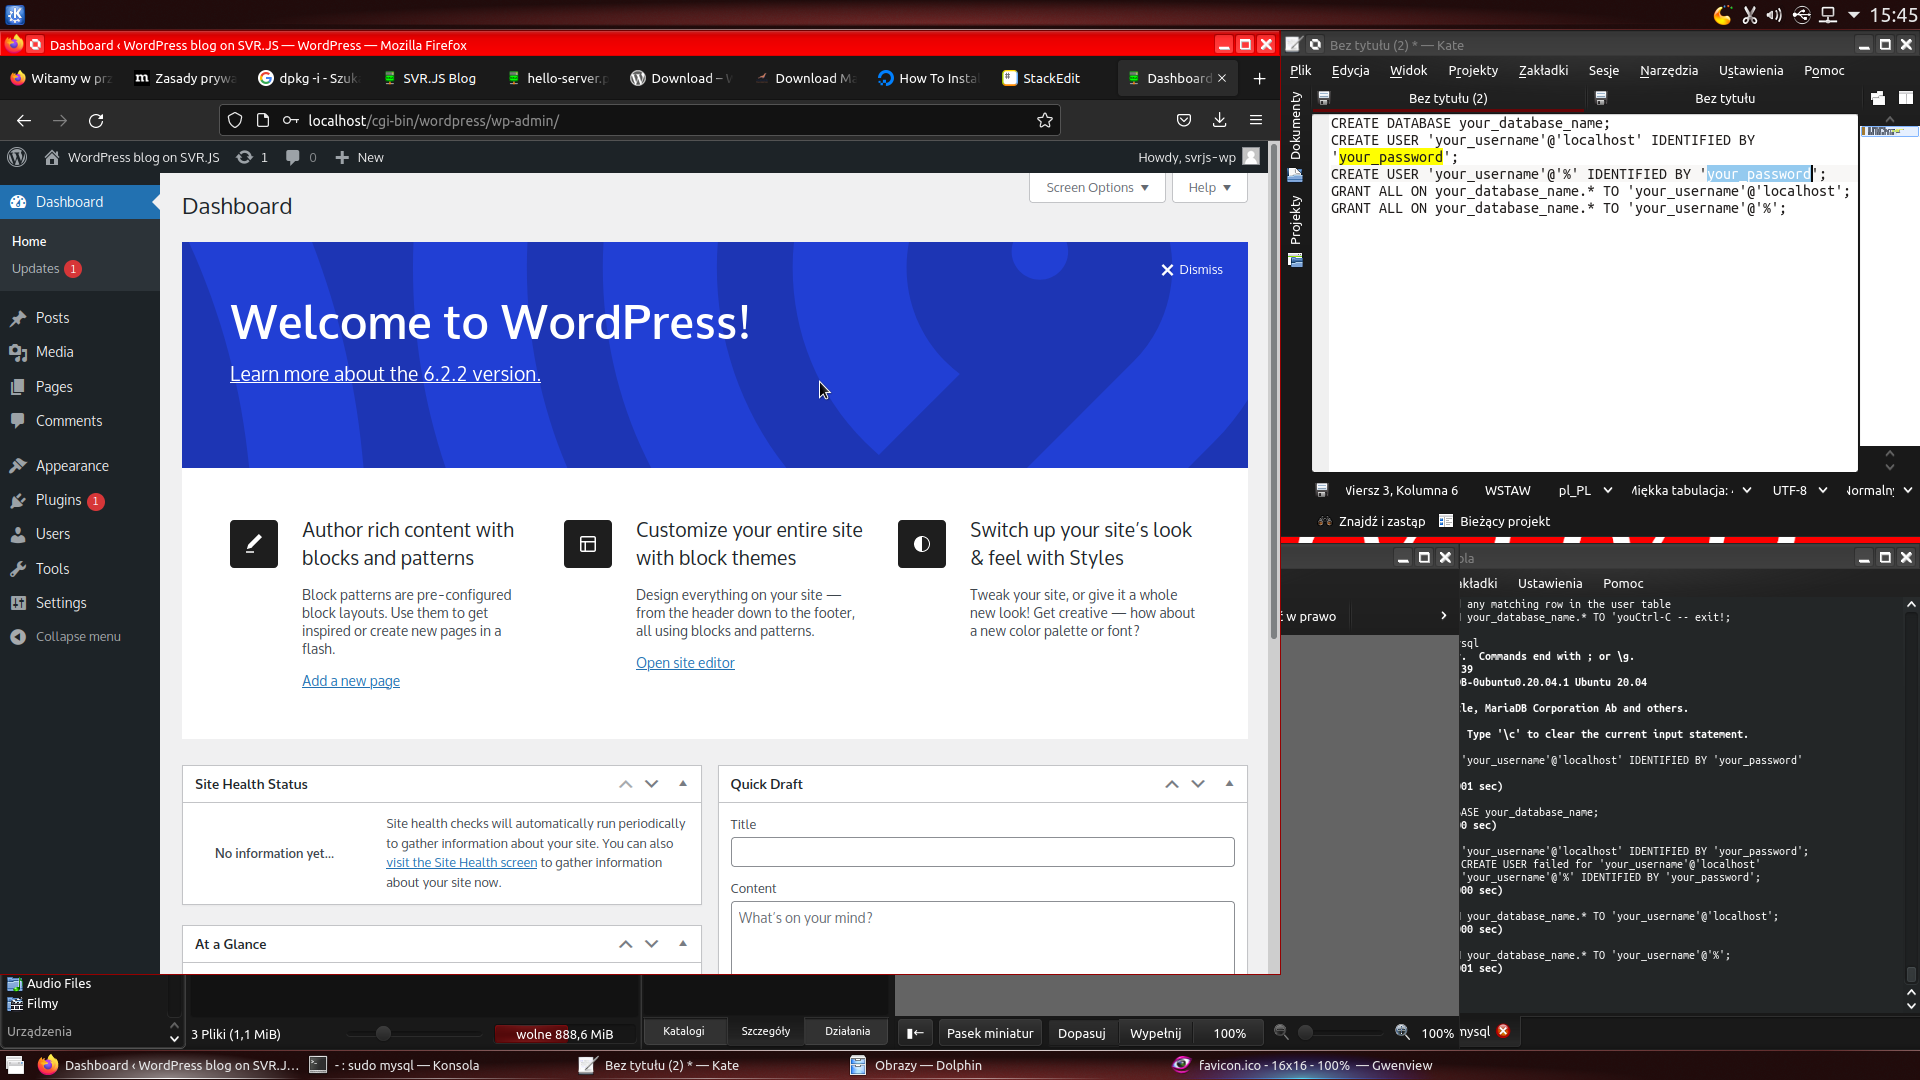
You can now create posts, manage comments and install WordPress plugins!
To visit your WordPress site, navigate yourself into WordPress index page (for example http://localhost/cgi-bin/wordpress). You’ll see this: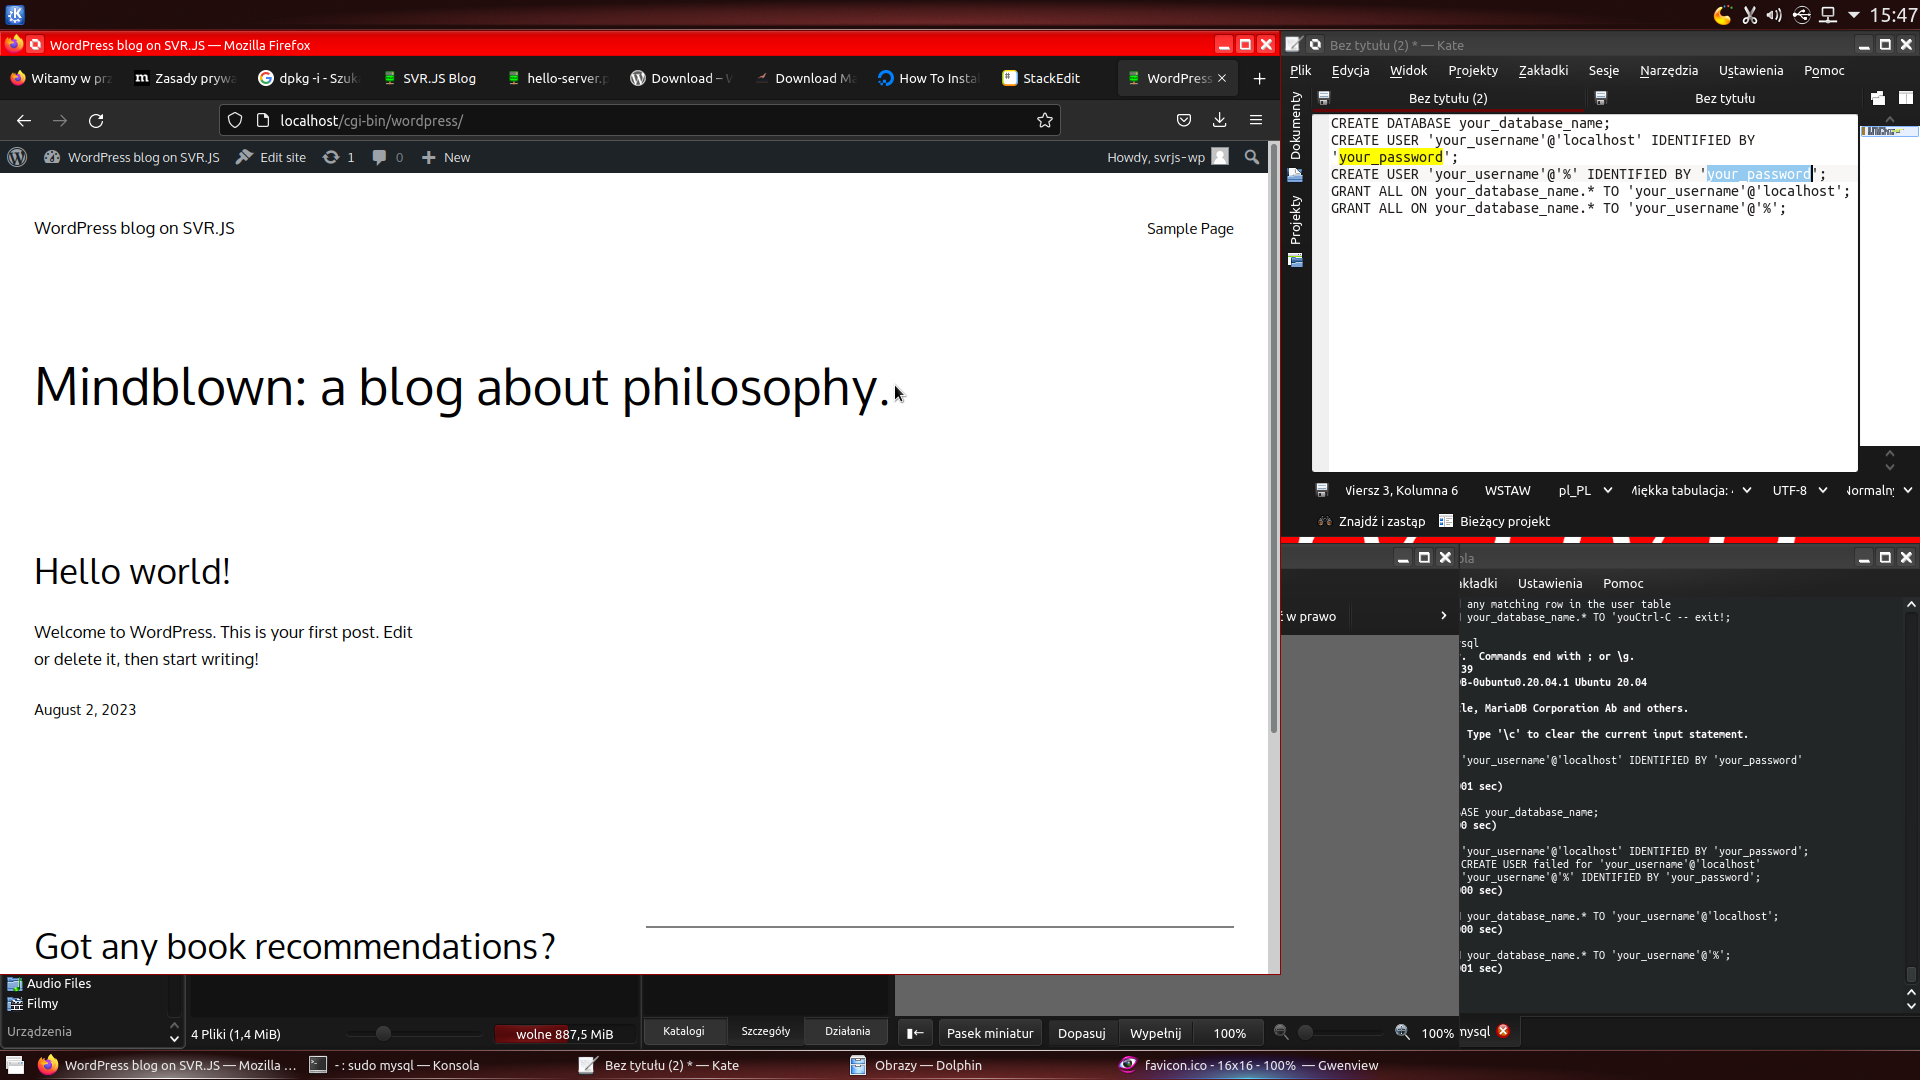
It’s important to kill CGI code execution (except PHP) inside WordPress installation folder. It’s also recommended to kill PHP code execution inside wp-content directory. You can do this using non-standard status code functionality of SVR.JS, or by modifying redbrick-interpreters.json configuration file inside SVR.JS installation folder.
If you want to edit RedBrick configuration file, you can change interpreters to “UNKNOWN_COMMAND”, for example:
1 | { |
Restart SVR.JS server. After those changes, attempts to execute those files will result in 500 Internal Server Error code. Keep in mind, that it will break CGI scripts outside WordPress installation directory. You can also point those to custom CGI script serving static files instead of “UNKNOWN_COMMAND”, for example:
1 |
|
If you want to modify SVR.JS configuration file though, you can add two non-standard code properties (to nonStandardCodes property in config.json inside SVR.JS installation directory), for example:
1 | { |
Restart SVR.JS server. After those changes, attempts to execute those files will result in 403 Forbidden code.
For even more security, you can disable directory listings by setting enableDirectoryListing property in config.json inside SVR.JS installation directory to false.
You can also make WordPress website home page into for example http://localhost, by using URL rewriting feature of SVR.JS and by modifing WordPress settings to point to new URL.
To do this, first navigate to WordPress administration panel, then go into Settings -> Permalinks. Then change Permalink structure to Custom Structure, and remove “/index.php” from custom structure field. After applying those settings, go into Settings -> General menu. Then change WordPress address and site address into for example http://localhost/. After submitting those settings, you’ll see 404 Not Found page. This is because we didn’t set up URL rewrites yet. To fix that, add URL rewrite rules to URL rewrite map (rewriteMap property in config.json), for example:
1 | { |
Restart SVR.JS server. Afterwards, you will get a clean URL for your WordPress website.
UPDATE: In order for wp-content to be more secure (prevent execution of ELF executables and scripts with shebang), you can move wp-content outside of cgi-bin directory and create symlink to moved wp-content like this:
1 | ubuntu@ubuntu:~/svrjs/cgi-bin/wordpress$ mv wp-content ../../ |
For moved wp-content you can use URL rewite rules for SVR.JS like this:
1 | { |